Tub-to-Shower Conversion: What to Know Before You Remove the Tub
Planning a tub-to-shower conversion in Toronto? Curbless vs curbed showers, waterproofing, drains, glass, anti-scald valves, ventilation, grab bars and permits.
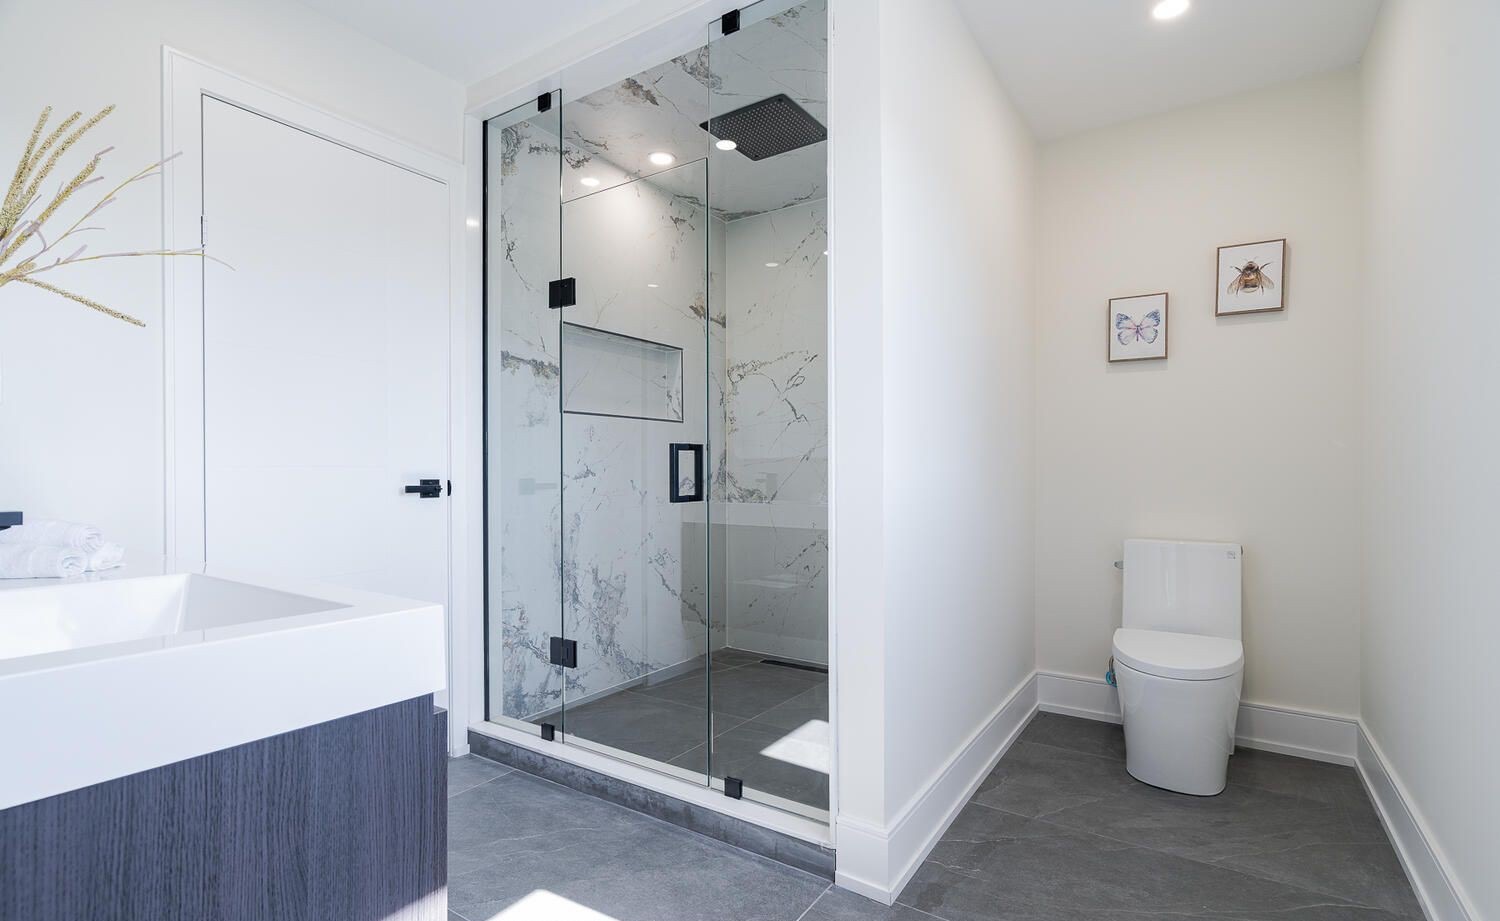
Swapping a bathtub for a walk-in shower is one of the most popular bathroom upgrades. A shower is easier to step into, easier to clean, and can make a small bathroom feel bigger. But a good conversion is more than pulling out the tub and putting up glass. The floor has to slope to a drain, the walls have to be waterproof behind the tile, and the plumbing may need to change. Here is what to think about before you start.
Should you keep one tub in the house?
Before removing a tub, think about who will use the house next. Families with babies and young children often want a tub for bath time, and some buyers look for at least one in the home. If the bathroom you want to change is the only one with a tub, it may be worth keeping a tub somewhere else, such as an ensuite or a basement bathroom. If your home already has another tub, or you plan to stay for many years and want easier access, converting is usually an easy decision.
Curbed or curbless?
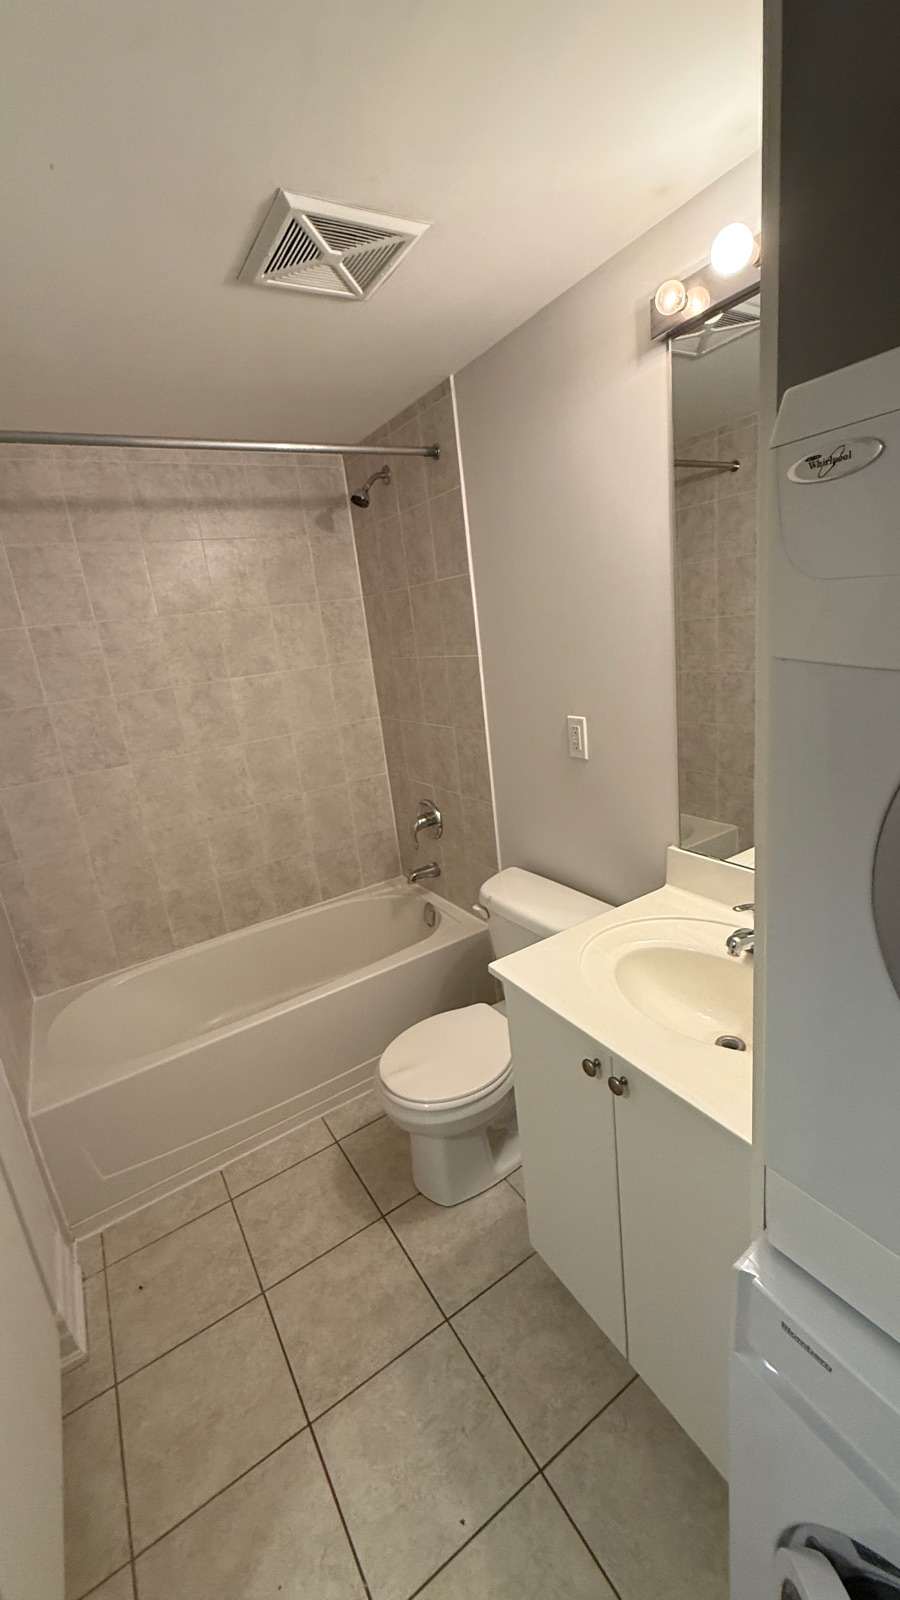
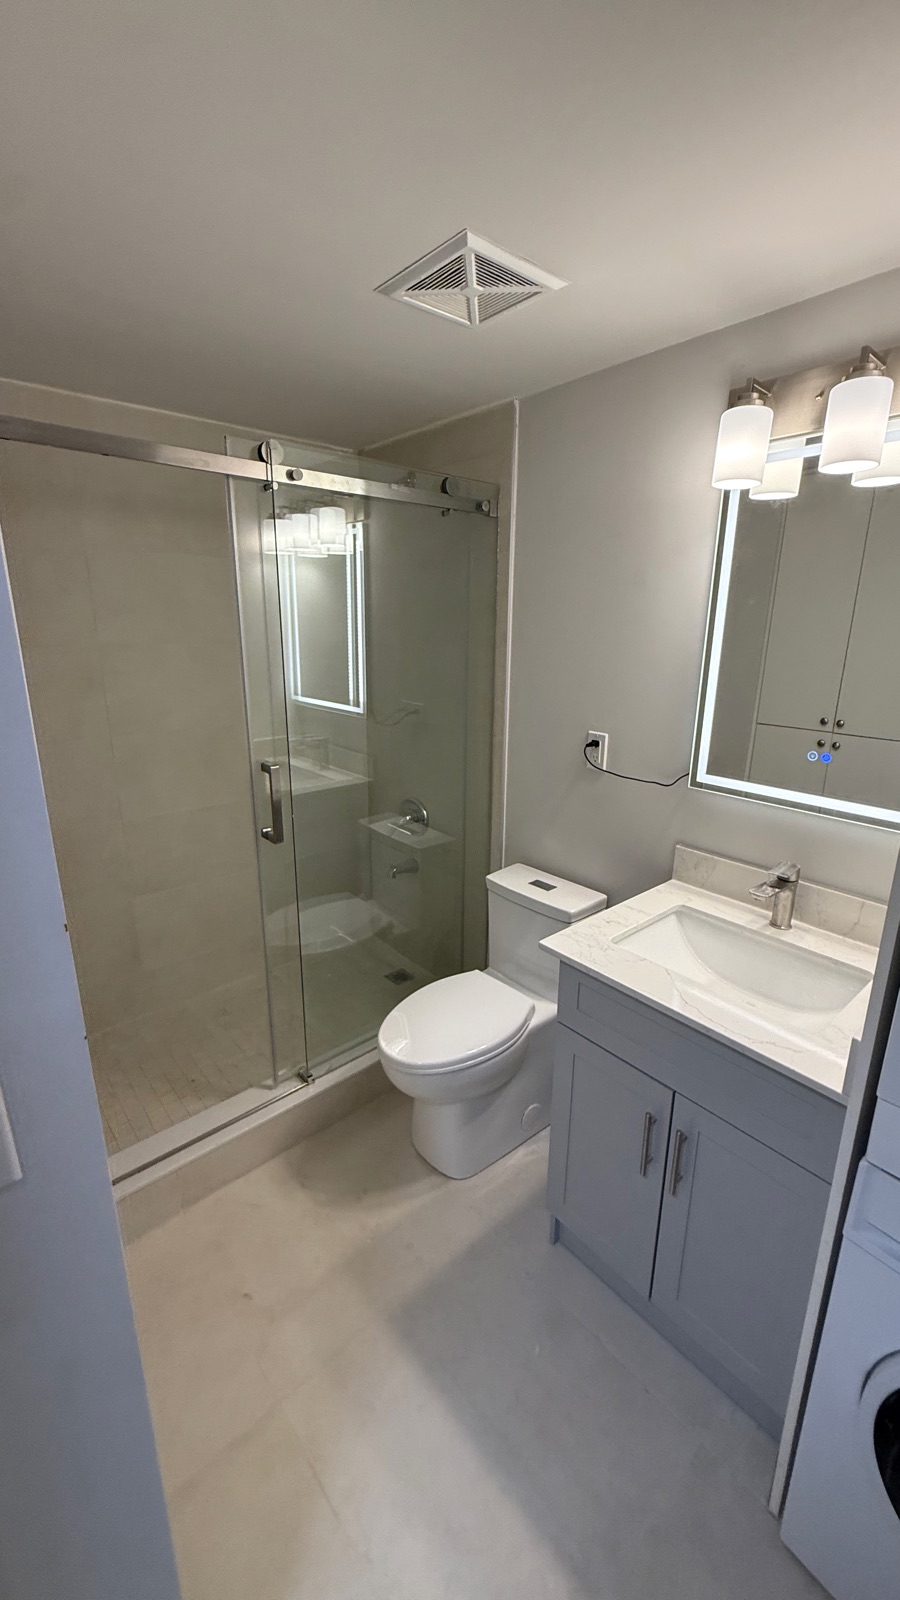
A curbed shower has a low raised edge at the entrance that keeps water in. It is the simpler option, because the shower floor can sit on top of the existing subfloor and slope down to the drain inside the curb.
A curbless (zero-entry) shower has no step at all, so you can walk or roll straight in. It looks clean and is the best choice for anyone with mobility concerns. The catch: the shower floor still has to slope to the drain, so it must be recessed below the bathroom floor. On a wood-framed floor that can mean lowering or modifying the floor framing, which is structural work. In a basement, it usually means cutting into the concrete slab. Curbless showers also need careful planning so water doesn't escape into the rest of the room.
Waterproofing is the part you can't see
Tile and grout are not waterproof. Water passes through grout and reaches whatever is behind it. A shower lasts for decades or fails in a few years depending on what is under the tile.
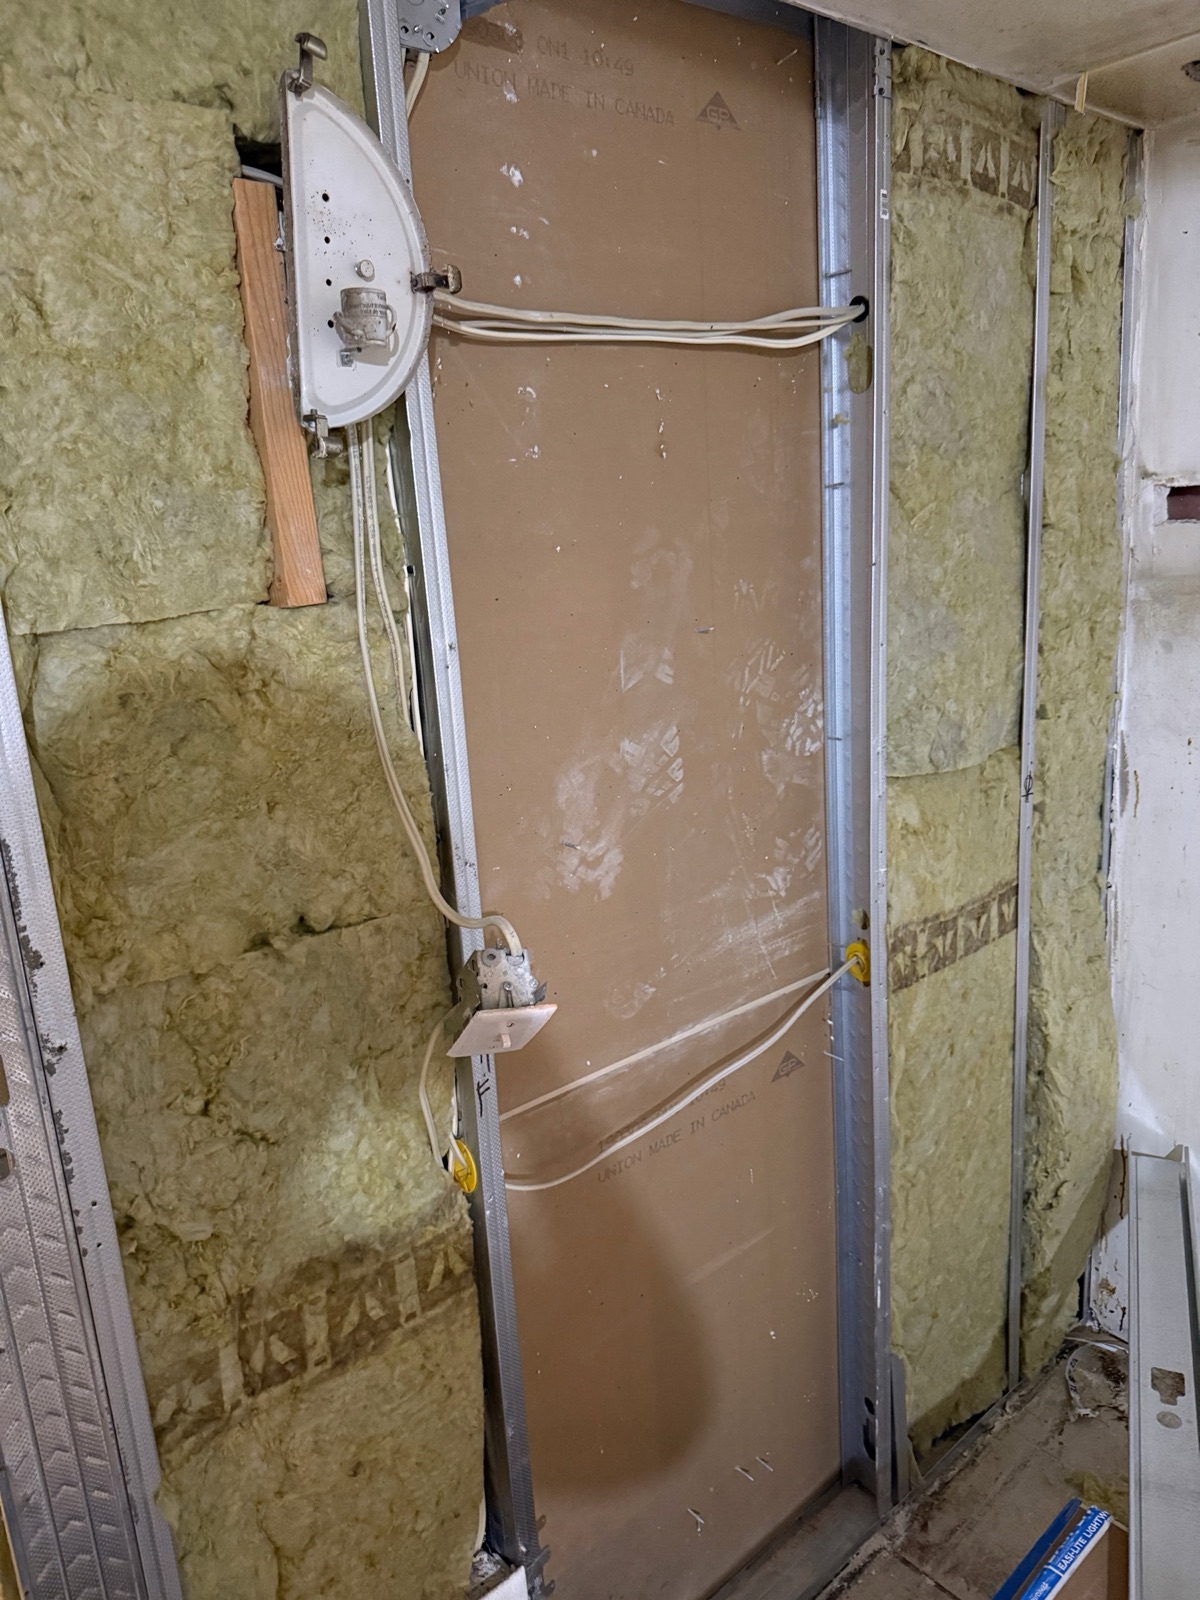
- Walls: tile goes over a waterproofing membrane, either a sheet product or a liquid that is rolled or brushed on, applied over a suitable backer board. Regular drywall should never be used as a backer in the wet area.
- Floor: the shower floor needs a continuous slope toward the drain and a waterproof layer that ties into the drain. This can be a traditional sloped mortar bed with a liner, or a pre-formed foam tray with a bonded membrane.
- Seams and corners: every corner, seam, niche, bench and pipe opening has to be sealed as part of the membrane. Most leaks start at these details.
- Testing: a flood test, filling the shower pan with water and checking that the level doesn't drop, before tiling is a good way to catch problems while they are still easy to fix.
Drains and plumbing
A bathtub drain usually sits at one end of the tub. A shower drain may need to move, and showers usually need a larger drain than a tub because water runs straight to the floor drain instead of filling a basin first. Your plumber will confirm the size and trap the Ontario Building Code requires.
- Centre drain: a round or square drain in the middle, with the floor sloped in from all sides.
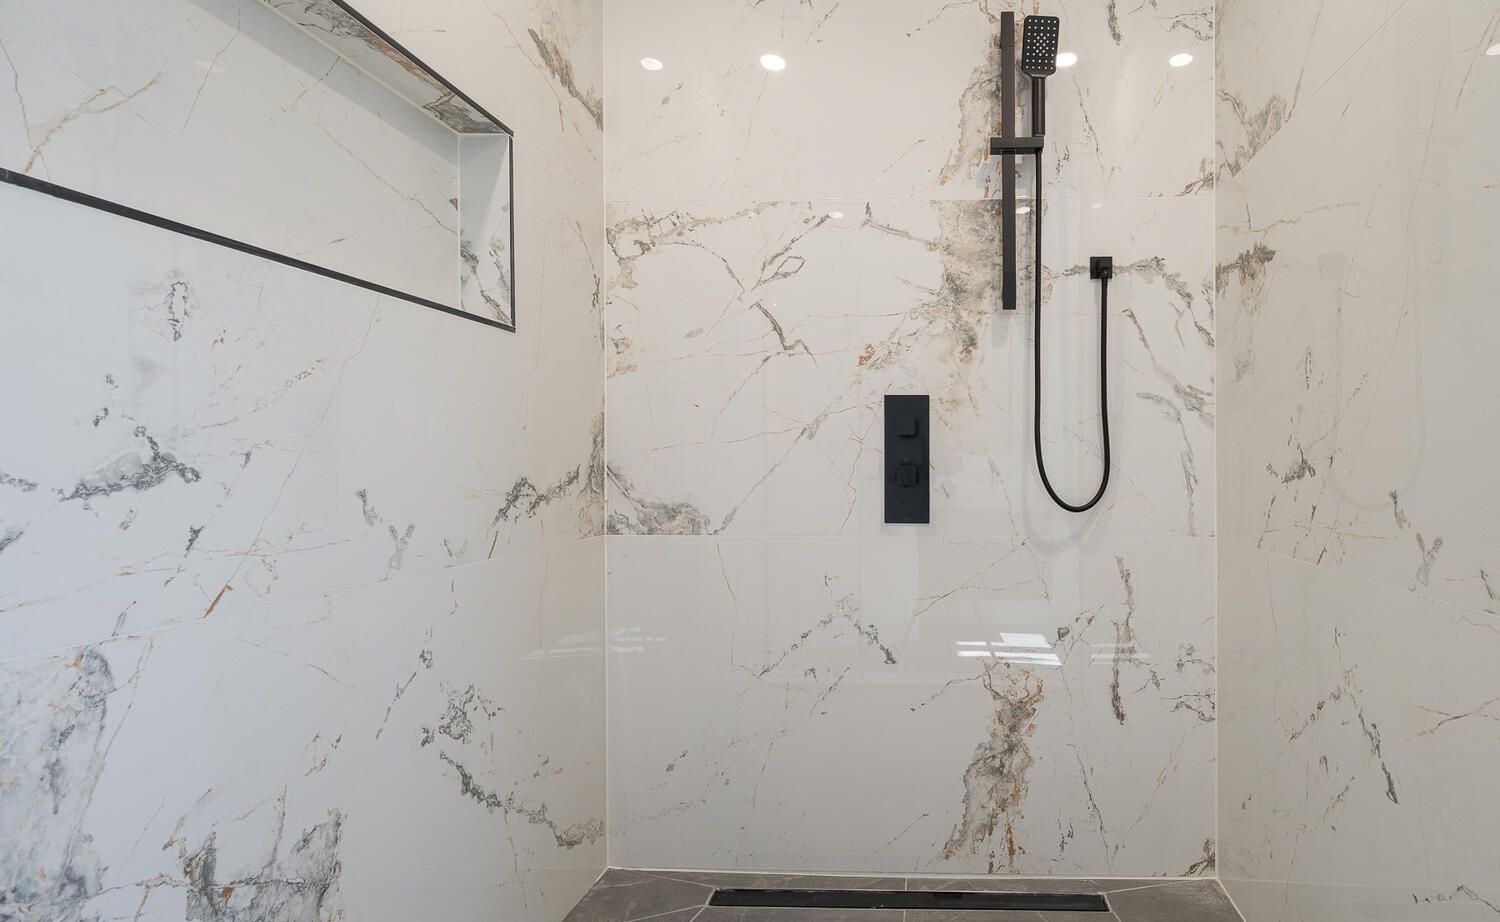
- Linear drain: a long, narrow drain along one wall or at the entrance. The floor slopes one way, which works well with large tiles and curbless showers.
- Moving the drain: on an upper floor this means opening the floor and working around joists. In a basement it means breaking concrete. Both add time, so plan the drain location early.
Valves, glass, ventilation and safety
- Choose an anti-scald valve. Shower valves must automatically limit sudden temperature swings. A pressure-balancing valve reacts to changes in water pressure, for example when someone flushes a toilet. A thermostatic valve holds a set temperature and lets you control temperature and flow separately. Either way, an old valve is normally replaced during a conversion.
- Pick the glass. Options include a fixed glass panel with an open entry, a hinged door, or sliding doors. Shower glass must be tempered safety glass. Make sure a hinged door has room to swing clear of the toilet and vanity.
- Plan the extras. A recessed niche for bottles, a bench, a handheld shower on a slide bar and good lighting are all easiest to add while the walls are open.
- Add wood blocking for grab bars. Even if you don't want grab bars today, solid blocking in the walls lets you add them securely later without opening the tile. A grab bar must be anchored into solid backing, never just drywall or tile.
- Upgrade the exhaust fan. A shower puts a lot of moisture into the air. The bathroom needs an exhaust fan that is vented to the outside, not into the attic, sized for the room and left running long enough after each shower to clear the steam.
How long does a conversion take?
A conversion in the same footprint, without moving the drain, is the quickest kind. Time on site depends on the size of the tile and on curing time for the membrane, mortar and grout, which can't be rushed. Moving plumbing, building a curbless floor or waiting for custom glass adds time. Custom glass is usually measured after the tile is finished, so expect a short gap before the doors go on.
Frequently asked questions
Does removing a bathtub hurt resale value?
It depends on the house and the buyer. Families with young children often want at least one tub, so many homeowners keep a tub in one bathroom and convert another. If your home already has a tub elsewhere, converting a second bathroom to a shower is unlikely to be a concern.
Do I need a permit to convert a tub to a shower in Toronto?
If you are only replacing fixtures in the same location, often not. Moving or adding drains, changing the plumbing or altering the floor structure usually requires a permit. Check with the City of Toronto before work starts.
Can you put a curbless shower where a tub was?
Often yes, but the shower floor must be recessed so it can slope to the drain. On a wood floor that may mean modifying the floor framing, and in a basement it means cutting the concrete slab. A contractor should check the floor structure before you commit to the design.
Planning a project like this?
Talk to our team for a free, no-pressure estimate anywhere in Toronto and the GTA.
See our Bathroom Renovation service.
This guide is general information, not professional or legal advice. Building code and city rules change and vary by property, so confirm requirements with your municipality before starting work.